1 安装
Install with Crate
# 创建名为log的项目
cargo new mylog

# 进入到目录执行命令,将所需模块加载当前环境目录中
cargo add log env_logger
在 Cargo.toml 中的[dependencies]可以看到具体模块信息如下方所示
[package]
name = "mylog"
version = "0.1.0"
edition = "2021"

# See more keys and their definitions at https://doc.rust-lang.org/cargo/reference/manifest.html

[dependencies]
env_logger = "0.10.0"
log = "0.4.19"
2 使用
通过拷贝文档中的Example1,并添加方法体
use log::{debug, error, info, log_enabled, Level};

fn main() {
    env_logger::init();

    debug!("this is a debug {}", "message");
    error!("this is printed by default");

    if log_enabled!(Level::Info) {
        let x = 3 * 4; // expensive computation
        info!("the answer was: {}", x);
    }
}
Output:
    Finished dev [unoptimized + debuginfo] target(s) in 0.04s
     Running `target/debug/mylog`
[2023-06-14T08:56:36Z ERROR mylog] this is printed by default
然而上面输出的log只有Error级别的,那么debug和info都哪去了呢?
翻看了下源码中解释如下
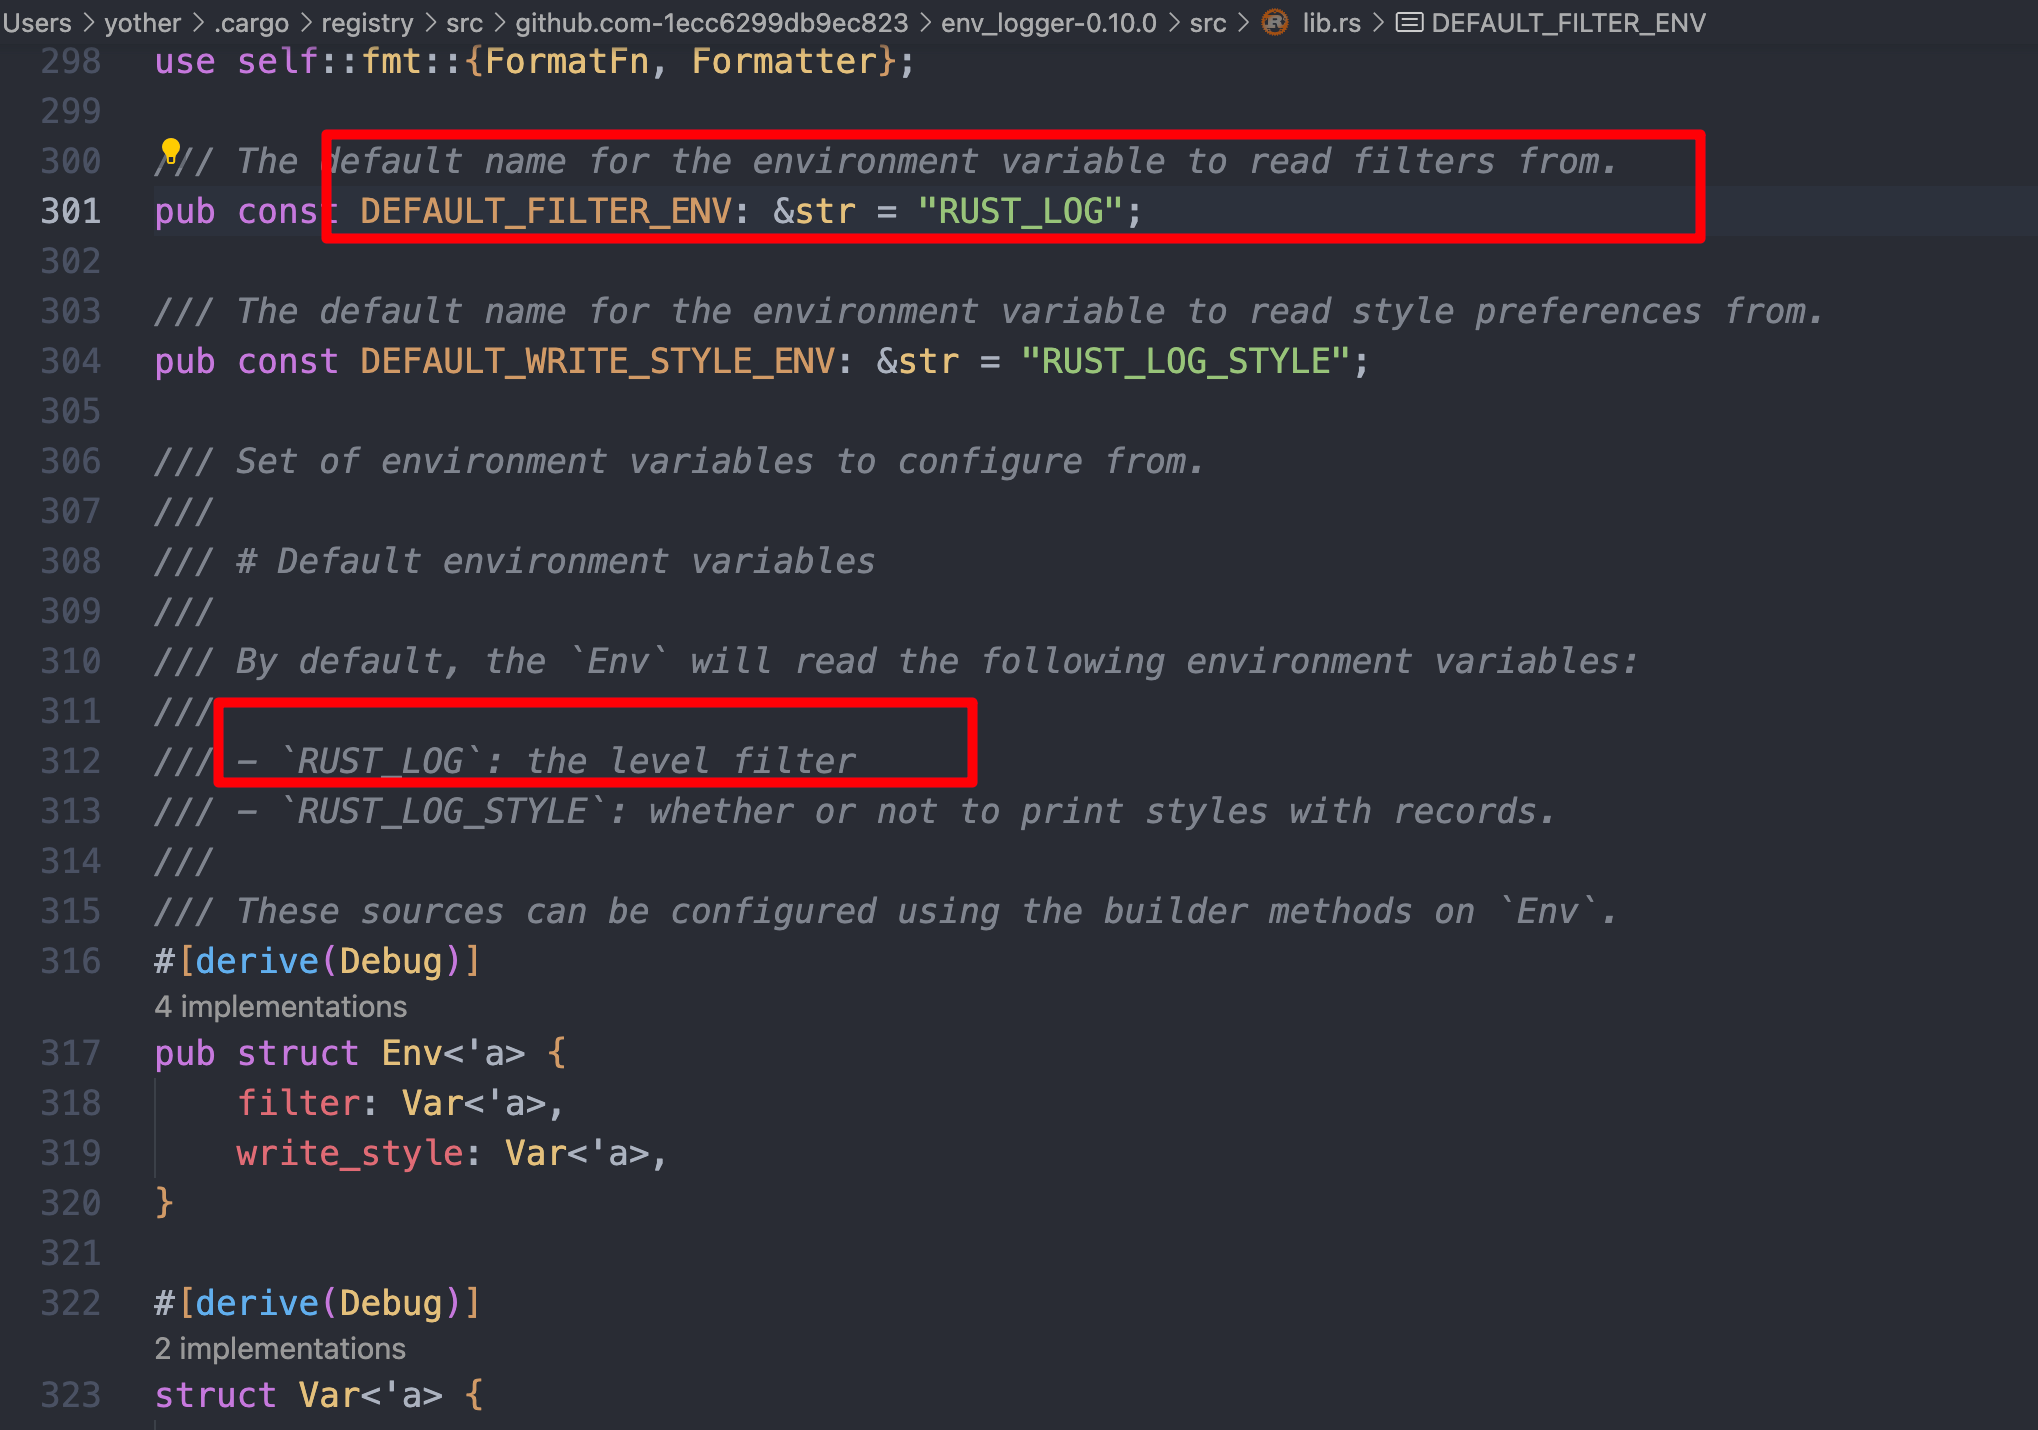
在env_logger中,通过代码调用 env_logger::init(),实质上日志等级是默认存在的,结合上面代码输出可以看到是为error等级。
如何自定义日志等级? 这时候需要自定义env_logger等级,可通过如下
use log::{debug, error, info, log_enabled, Level, LevelFilter};

fn main() {
    env_logger::builder()
        .filter_level(LevelFilter::Debug) // 修改日志为Debug等级
        .init();

    debug!("this is a debug {}", "message");
    error!("this is printed by default");

    if log_enabled!(Level::Info) {
        let x = 3 * 4; // expensive computation
        info!("the answer was: {}", x);
    }
}
执行代码输出:

这次将所有等级的日志输出在控制台,
4 参考文献
-
https://docs.rs/env_logger/0.10.0/env_logger/#example env_logger 文档 ↩︎